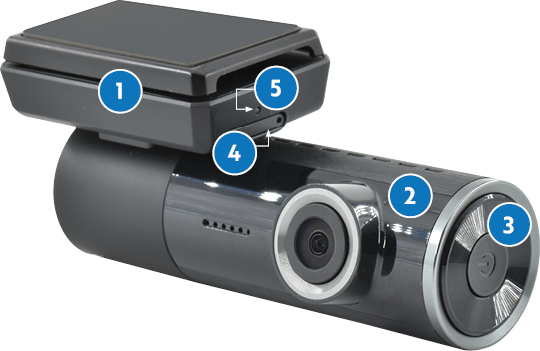
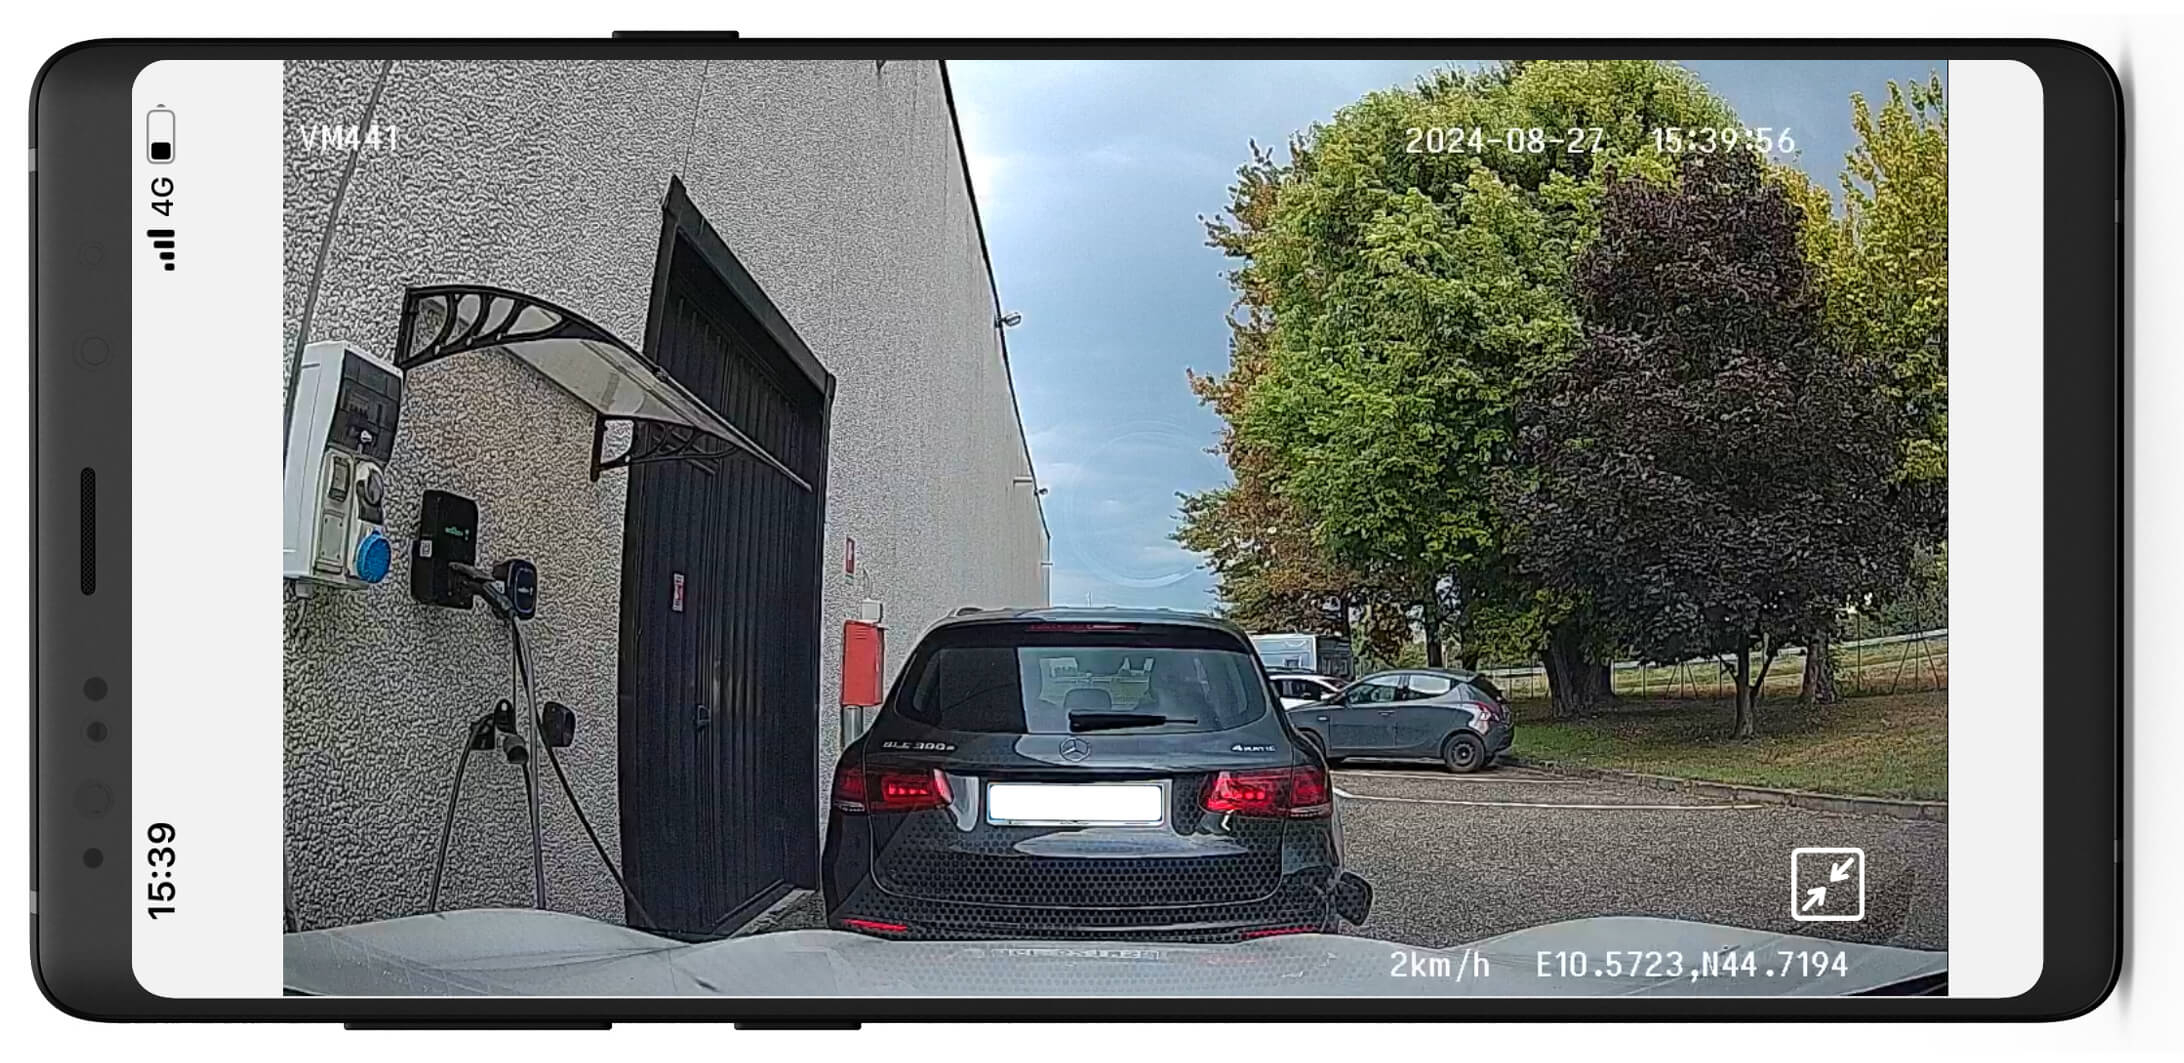
PARKING MONITORING
In the event of impact detected by the G-Sensor while the vehicle is parked, a 1-minute video will be
recorded.
NOTE
The video will be saved in the
“NORMAL VIDEOS” folder if the impact was detected within 5 minutes of key-off, or in the “EMERGENCY VIDEOS” folder if the impact was detected more than 5
minutes from key-off: check both folders.
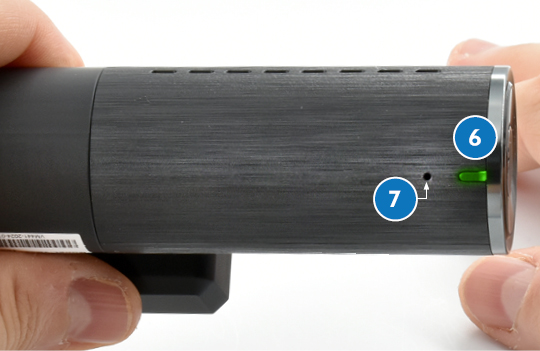
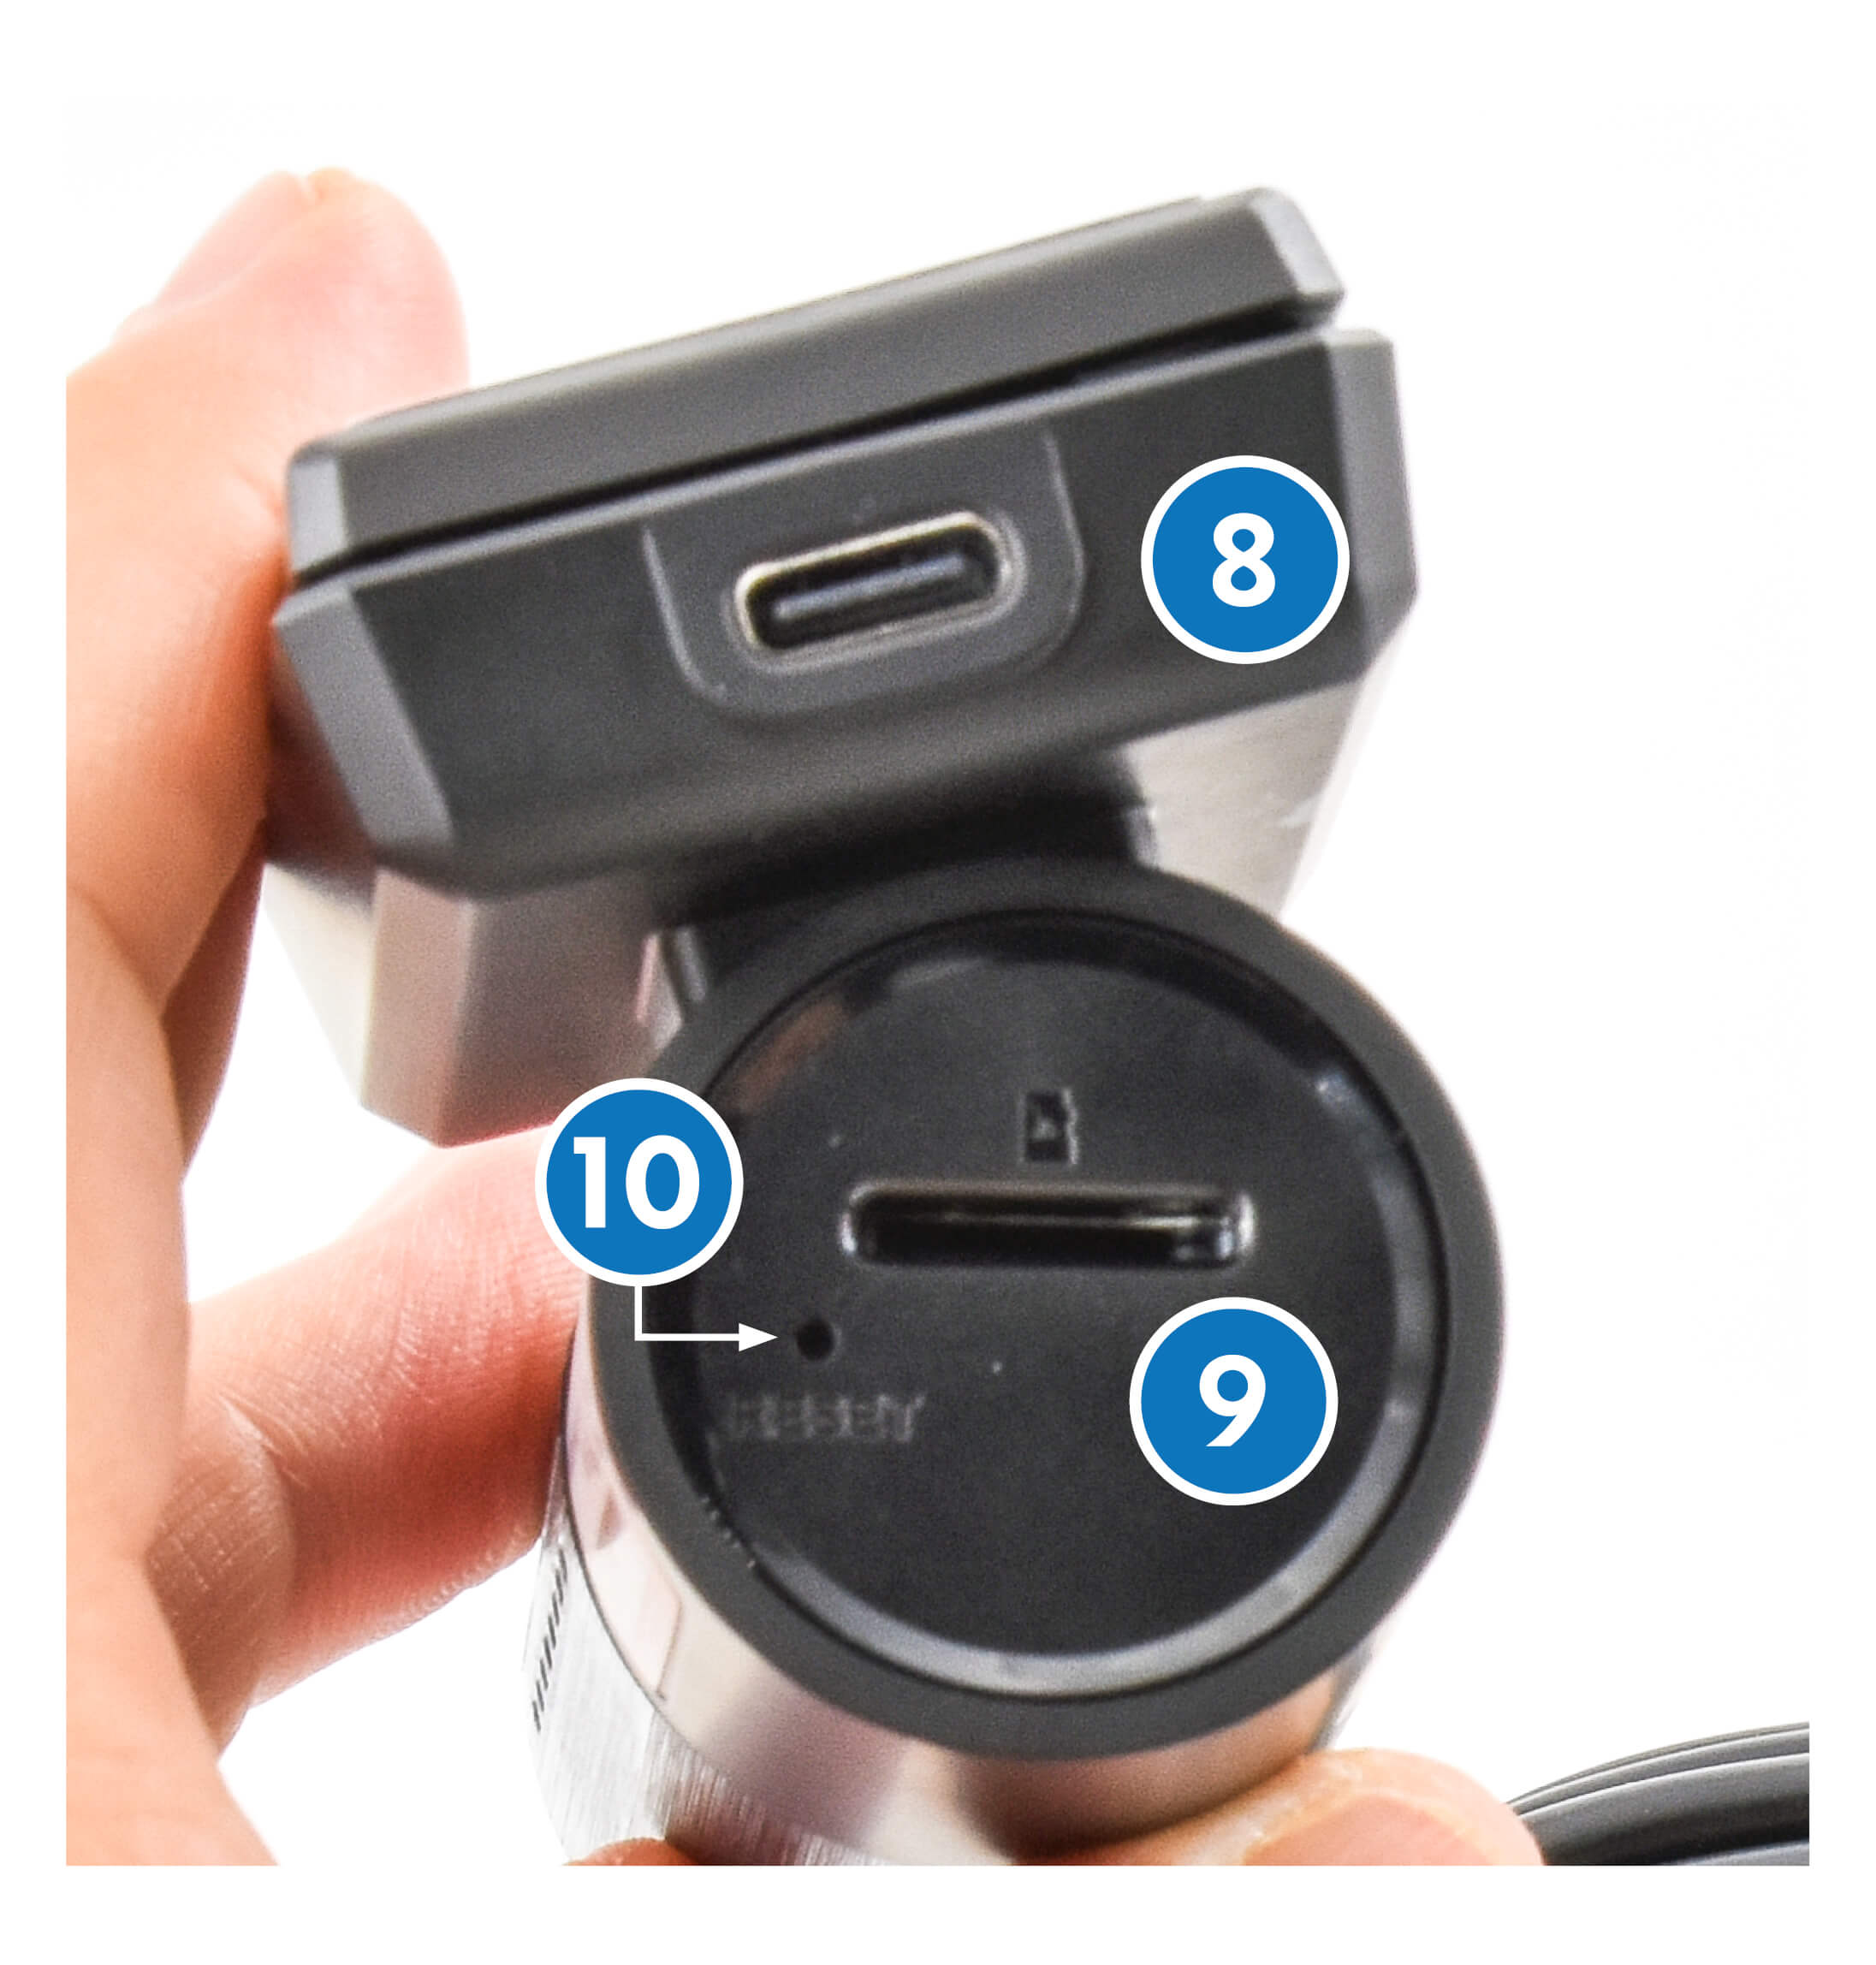
SAVING
– EMERGENCY VIDEOS
– NORMAL VIDEOS
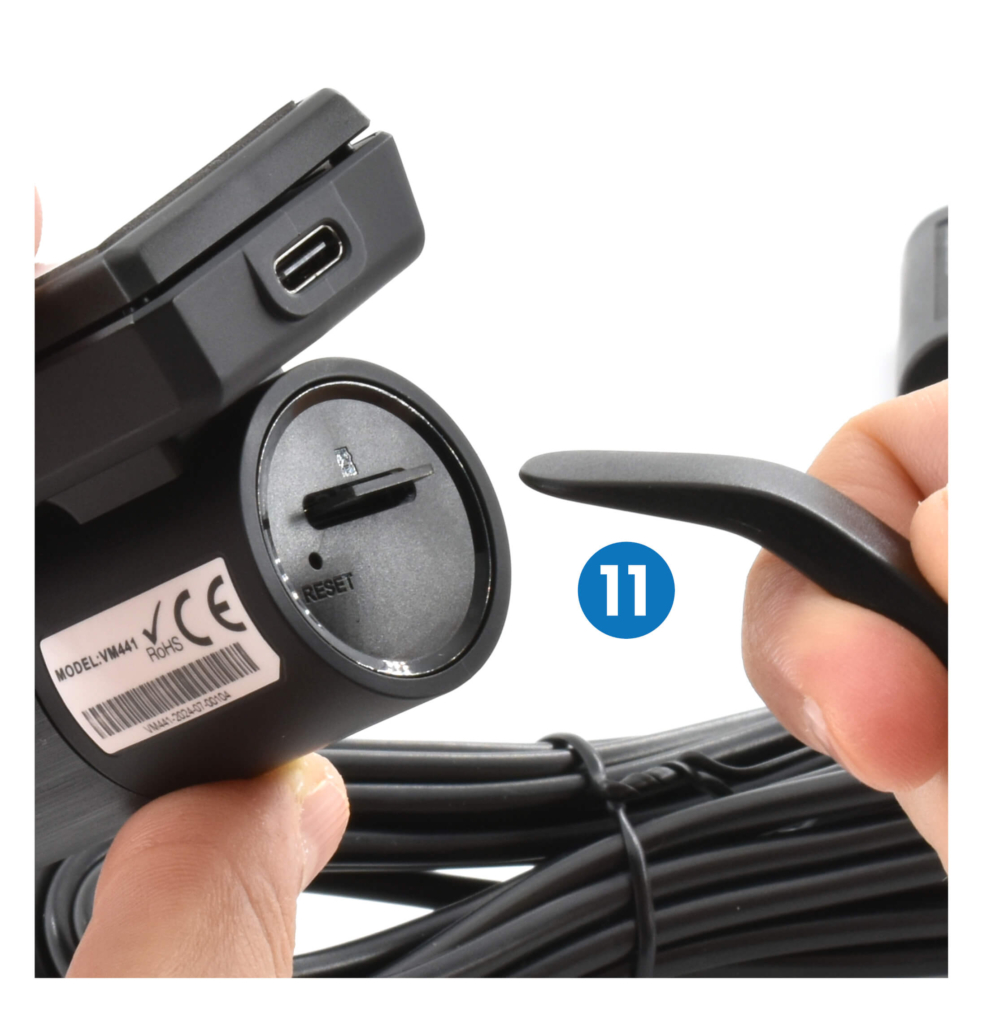
SETTINGS
– G-Sensor sensitivity