RECORDING EMERGENCY VIDEO
If an impact is detected by the G-Sensor during driving, recording will continue for 30 seconds.
Emergency videos are writeprotected and highlighted with an audio message on vehicle starting.
NOTE
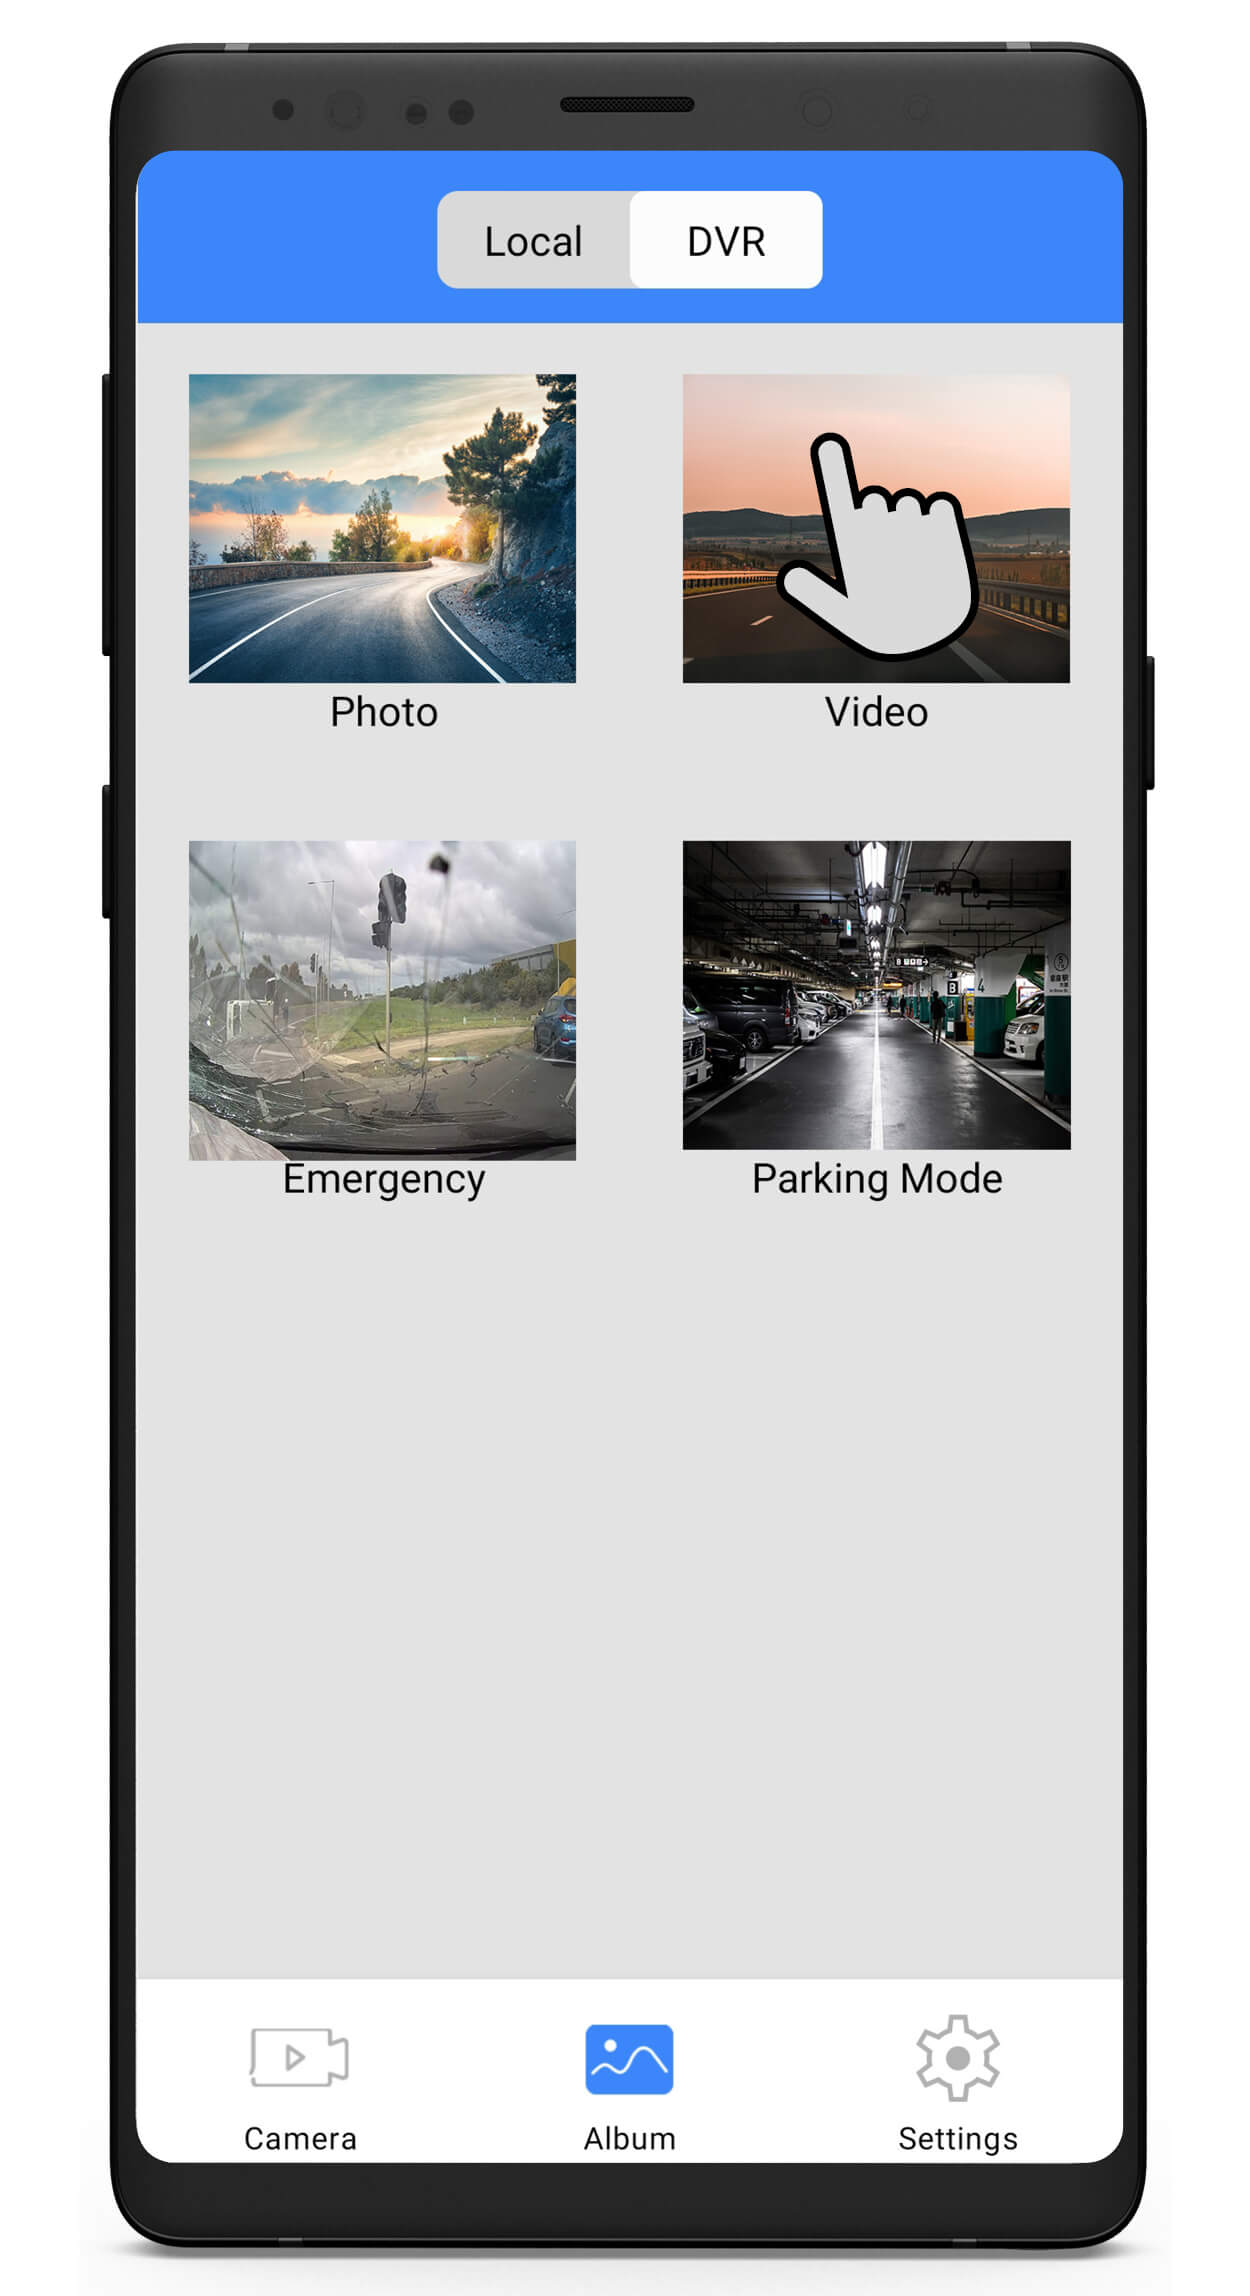
Depending on the circumstances in which the impact occurs, the video may be saved in the “VIDEO” folder – check both folders.
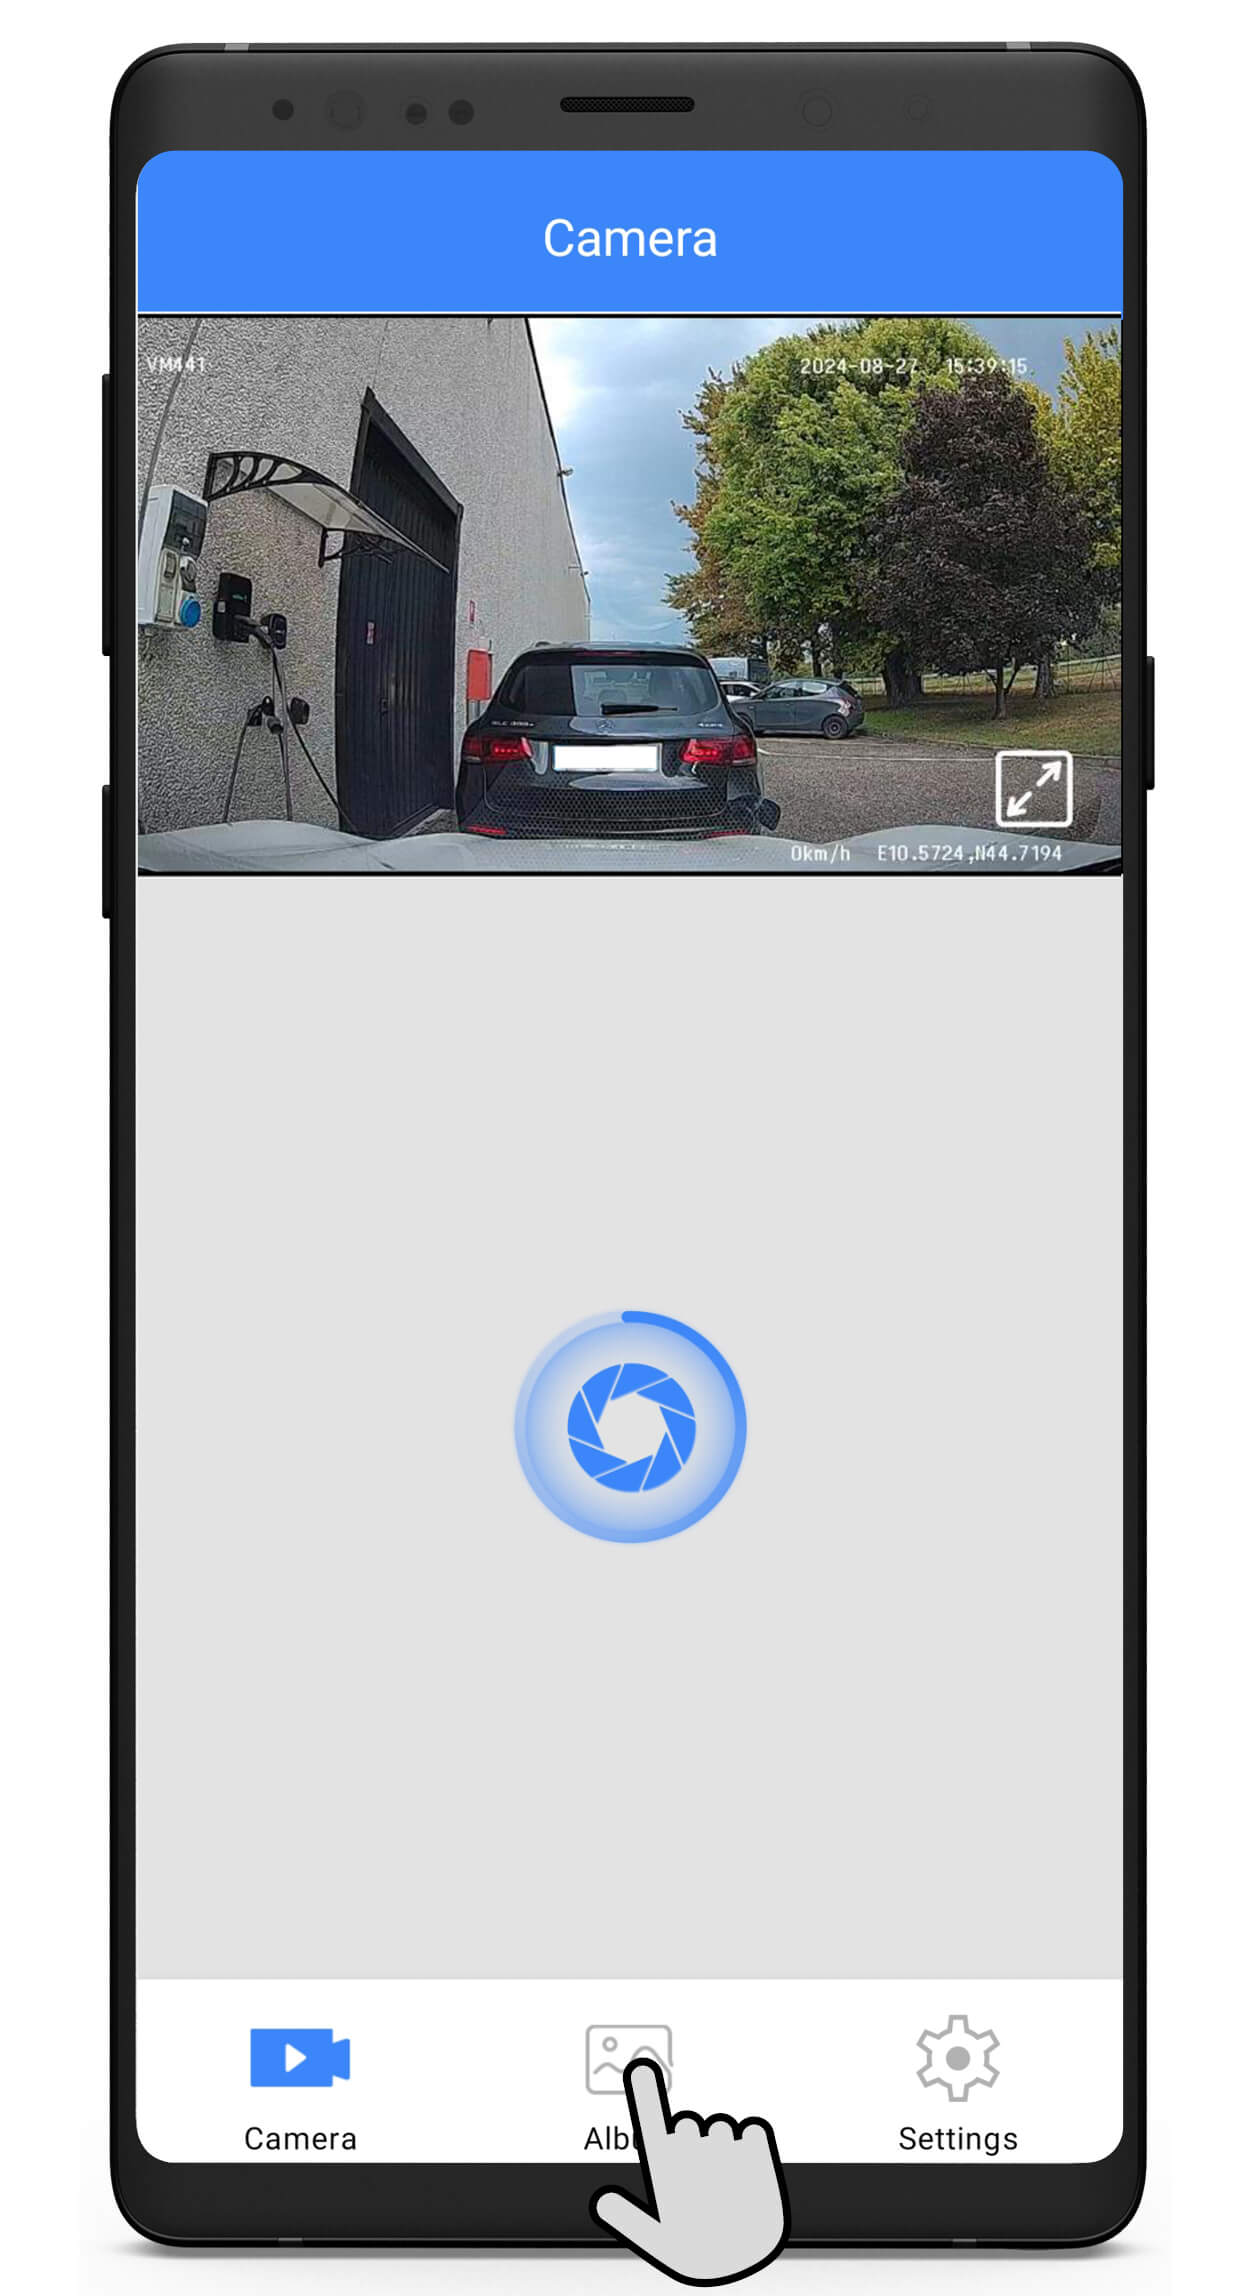
SAVING
– EMERGENCY
– VIDEO.
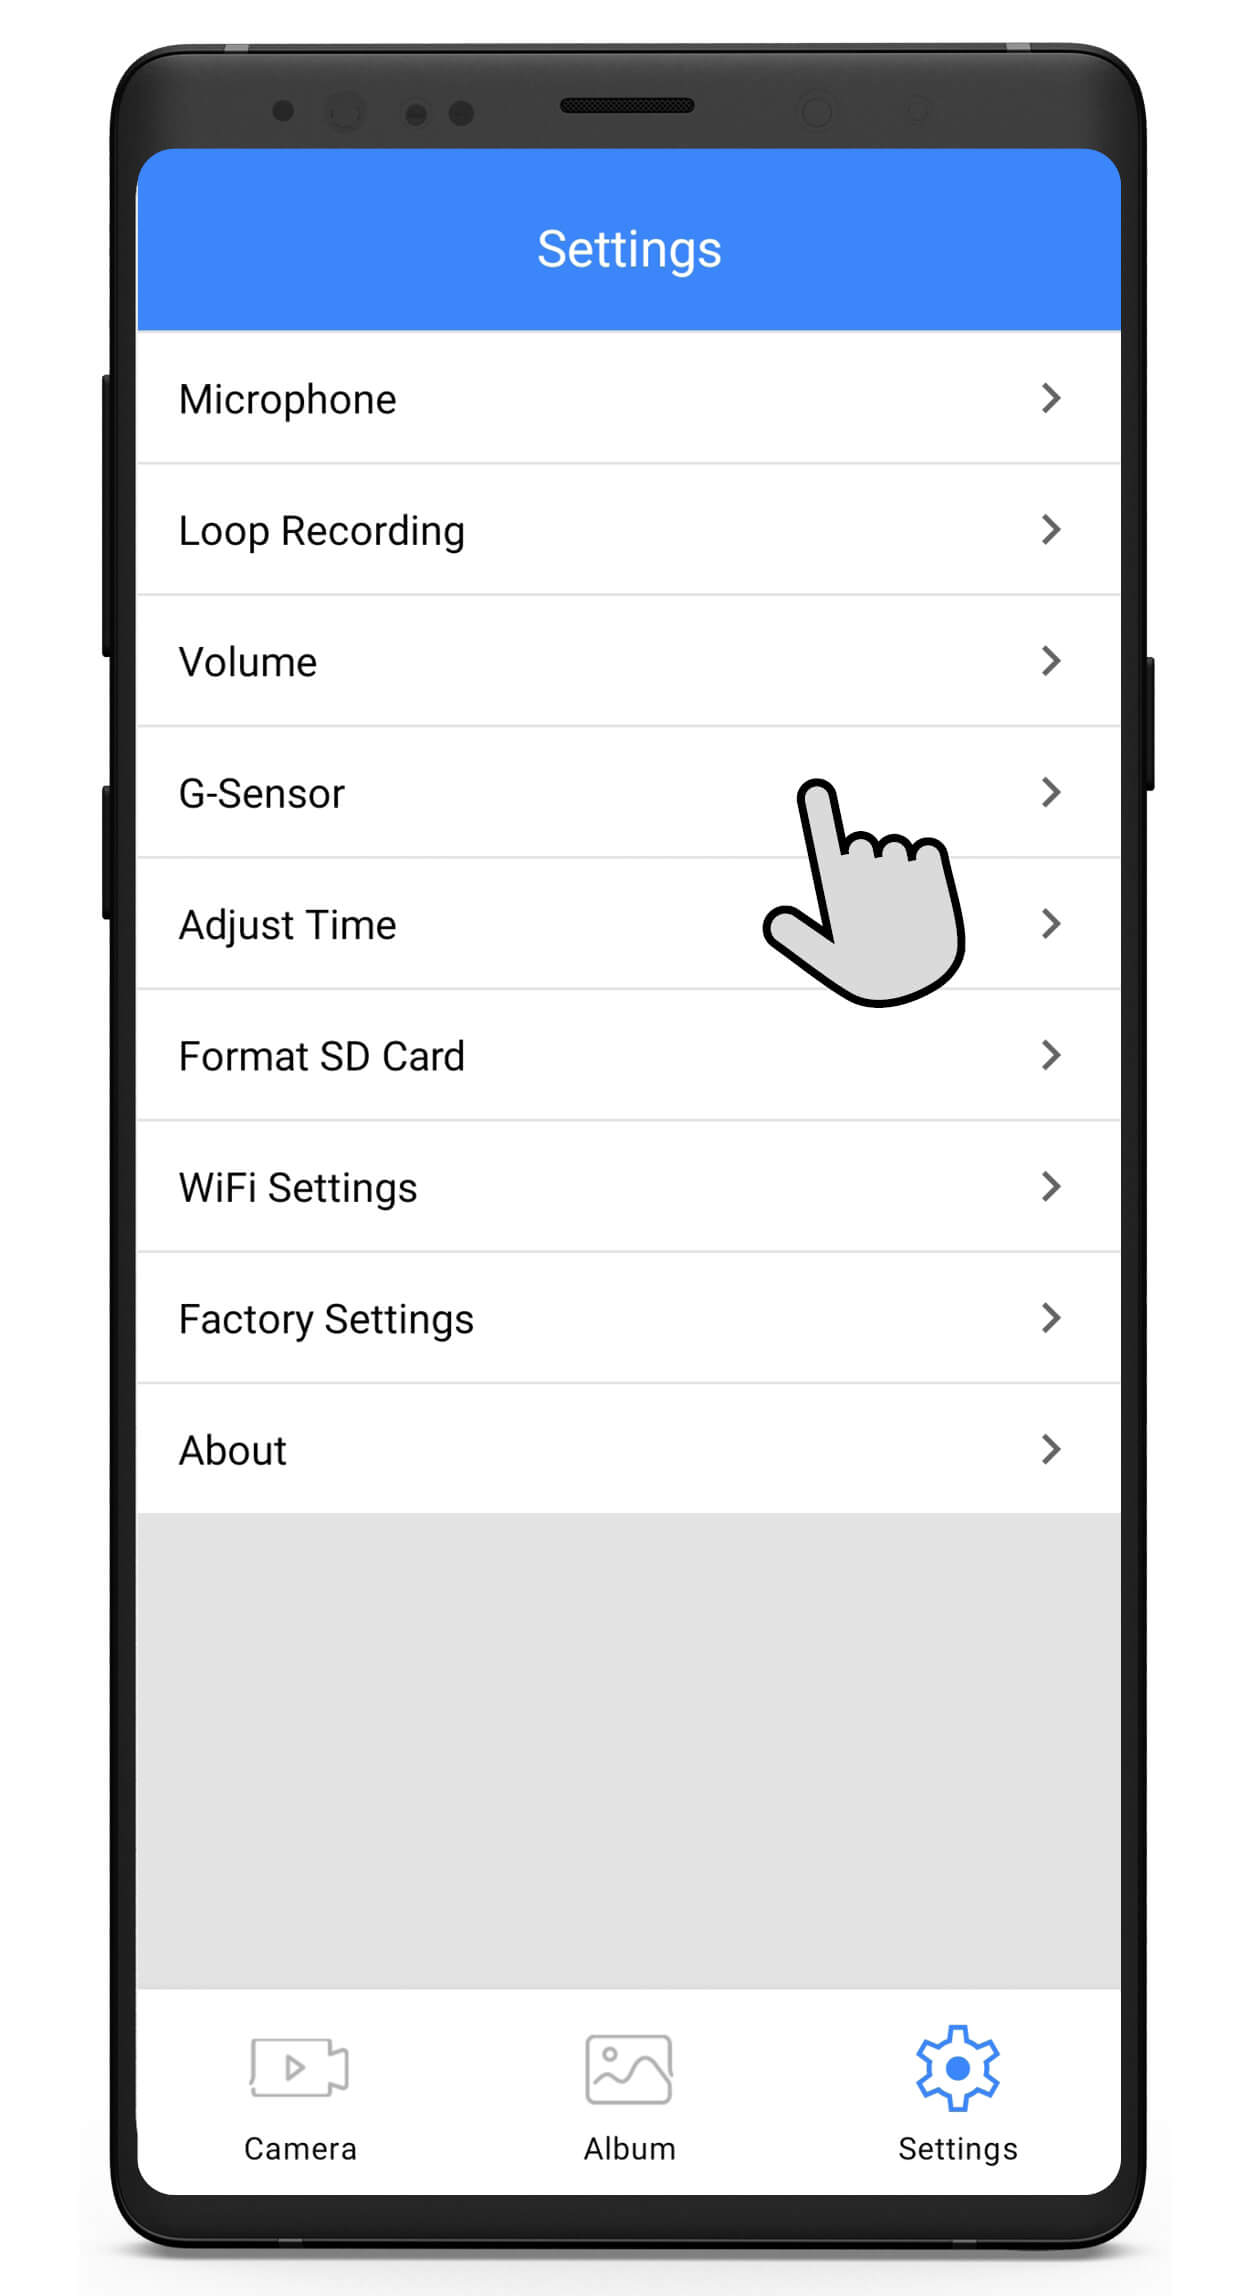
SETTINGS
– G-Sensor sensitivity